Course Home
-
Toggle ItemThe Course Dashboard
The Course Dashboard is the front page of Learning Suite for students. Listed on the Course Dashboard is the schedule of the upcoming two weeks and the five most current announcements for the course.
For instructors, the Course Dashboard lists the same information students view. However, the schedule and announcements can also be edited from this page by clicking Edit schedule or Edit announcements (pencil icon). These will redirect you to their respective pages where additional editing options are available.

-
Toggle ItemAnnouncements
Instructors can post announcements online that are viewable by students. These announcements can be created and appear on the Announcements page and Course Dashboard.
Create an announcement
1. Click on Announcements located underneath the Course Home menu.
2. Click New Announcement.
3. A dialog window will appear. Select the courses to share the announcement with.

4. Type the announcement’s subject in the Subject text box. Type the message in the Message text box.
5. To set the announcement to only show for a set period of time, check the Expire on checkbox. Use the calendar and time tools to pick the specific date the announcement will expire on.
Note: All deleted announcements are moved under the Expired tab where they are not visible to students but are saved for further use. If there is no expiration date, the announcement will remain current for the whole semester.
6. If the announcement is important, check the Critical Announcement: Email to everyone on publish checkbox.
Note: Students will not receive email notifications regarding new announcements unless the announcement is marked as critical.
7. Click Publish Announcement. To save the announcement, but not publish it for the class to see, click Save as draft.
8. View announcement. When an announcement is published, it appears on the student dashboard and can be viewed when the students log in to the course. The announcement can be edited with the Pencil icon, or deleted with the Trashcan icon.
Note: If a TA edits a global announcement at the course level, and that TA does not have access to other sections, the announcement will be deleted in the other sections.
Insert an Image into an Announcement
To insert an image into an announcement, the instructor can select the image button on the toolbar. To embed an image from the internet using HTML, an instructor can select the source button from the toolbar.

Embed an Image
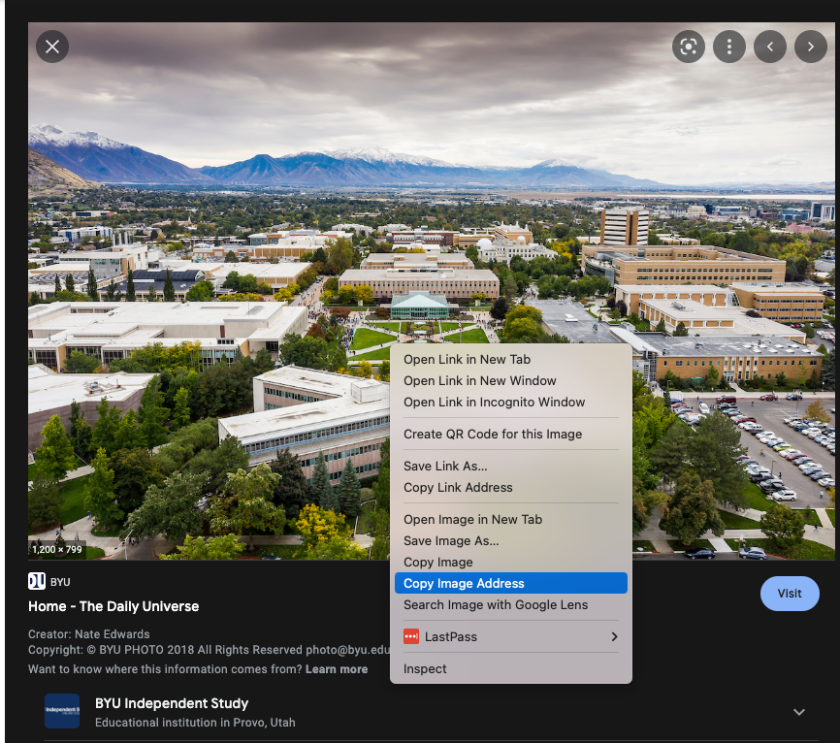
1. Find an image on the internet to use in the announcement. Right click on the image and click Copy image address.
2. Under Home, go to Announcements, and click + New Announcement. In the toolbar, click Source to open the html source code.
3. Paste the image address that was copied. In front of that image address, type <img src=”Then at the end of the image address, type “ />
The code will look something like this:

4. Click on Source to see the image in the announcement and make any text edits. Click Publish Announcement or Save as Draft.
Expiring, Restoring, and Deleting Announcements
Expire Announcement: Click the Expire (trash can) icon next to the announcement. The announcement is then moved to the Expired folder.
Restore Announcement: Click Expired in the Announcements sub-menu on the left. Click the Edit (pencil) icon next to the announcement. Edit the Expire On information to include a date in the future. Click Publish.
The announcement will appear on students’ Dashboard.Delete Announcement:
Click Expired in the Announcements sub-menu on the left. Click the Delete (trash) icon next to the announcement.Note: Deleting announcements from the Expired Announcements page will permanently remove the announcement from your course. It cannot be restored.
Delete Announcement for One Section or Course
Sometimes an announcement sent to all courses may need to be deleted for one course or section. This can be done by editing the announcement.
1. Click Announcements from the navigation menu on the left.
2. Click the pencil icon to edit the announcement.
Note: If a TA updates a global announcement at the course level, and that TA does not have access to the other sections, the announcement will be deleted in the other sections.
3. A dialog window appears. Click the [more courses] link to view all courses or sections that the announcement was sent to.
4. Uncheck any courses or sections that you do not want the announcement to appear in.
5.Click Publish. The announcement will no longer appear in any courses that are unchecked.
Note: If critical announcement was checked when originally creating the announcement an email was sent to all sections and courses that were included. This means that students in removed courses who received the critical announcement email may still think the announcement applies to them.
-
Toggle ItemLearning Outcomes
Refer to Learning Outcomes on this page for more information.
-
Toggle ItemLibrary Resources
The Library Resources page in Learning Suite is Auto-populated by the BYU Library. Your librarian is listed at the top and can help you with any changes you feel you need to be made to the reserve items listed.

-
Toggle ItemManage Rubrics
Refer to this page for more information on Rubrics.
-
Toggle ItemSetup
Each section of Learning Suite contains its own Setup tab, which allows the instructor to edit the settings for that section. If a particular section is excluded, such as Grades, that tab will become invisible to your students. To see what your students will see when they enter your course, go to Student View located at the top right corner of the screen.
To change the settings in a particular area of Learning Suite, click the Setup tab.
- From the Home page, the Setup tab has options to change the name of the course, edit section groupings, import course content from Syllabus Builder, and copy courses from previous semesters.

- The Setup tabs under the Content, Dialog, Exams, Grades, Path, Syllabus, and Online have options whether to use that section of Learning Suite, to exclude it, or to link an external website to it.

- The Syllabus tab has options to use the Learning Suite syllabus, upload a Word or PDF syllabus, link to a syllabus on another website, or to not include a syllabus.

Combine sections in a course
Instructors can combine multiple sections in Learning Suite into one course. Grouping sections will reduce course management during the semester as items will only have to be added to one course.
Note: Sections should only be grouped if they will have the same assignments, due dates, exams, and other course requirements and information.
1. Click Arrange Sections below the sections list. A pop up will appear. Choose to group sections according to preference, then click Save.

If Create my own section groups is selected, another pop up will appear.

4. Click Add section to group to enter information for a new section.
Note: When grouped, all materials, grades, syllabi, due dates, and other information will be identical for all of the sections.
Copy To 1.
Click Copy To in the Home menu. Select which course to copy to by first selecting the associated semester from the dropdown menu and then the course. Communities and development courses can also be copied to. When the correct course is defined, click Add selection.

Multiple courses can be copied to at the same time, and a list will populate beneath the Courses selected header. They can be removed by clicking the X associated with the course.
2. Select whether the information being copied will Add to the current course materials and information, Override existing files with the same name with the current course materials and information, or Replace all current course materials and information.
- Add to: Click Add to my current course materials and information to add the copied materials and information to the content already in the course.
- Override existing: Click the Override existing content with the same name with the current course materials and information to overwrite any existing material that has the same name as the material from the course that is being copied from.
- Replace all: Click the Replace all current course materials and information radio button to delete all existing materials and information in the course and replace it with the content from the other course. This option will not keep anything from the course.
3. Select which materials and information to copy to the other course(s). Associated warnings will appear as necessary.
4. When finished, click the Copy button. A dialog window will confirm the copy was successful.
- From the Home page, the Setup tab has options to change the name of the course, edit section groupings, import course content from Syllabus Builder, and copy courses from previous semesters.